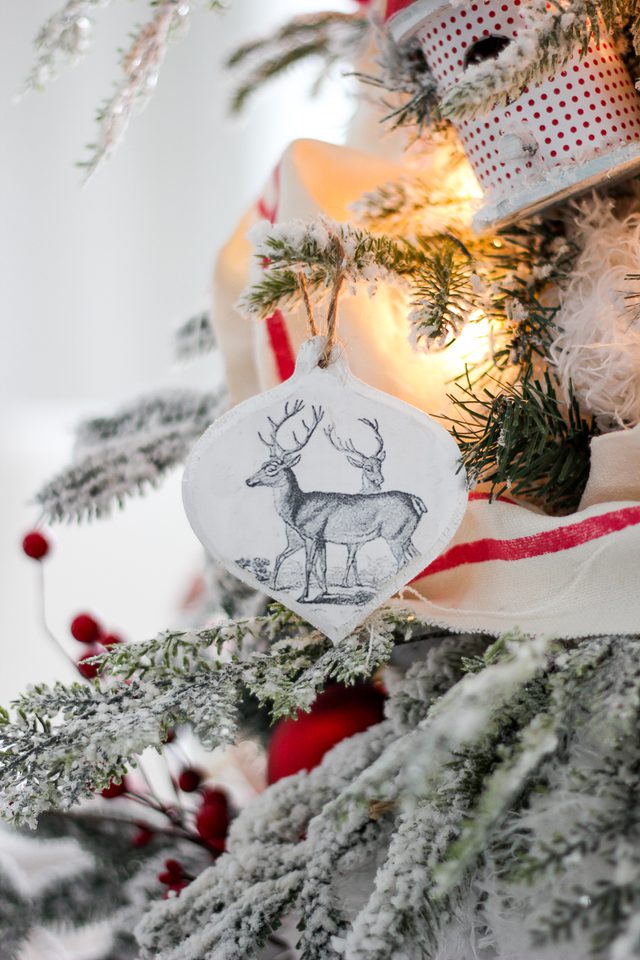
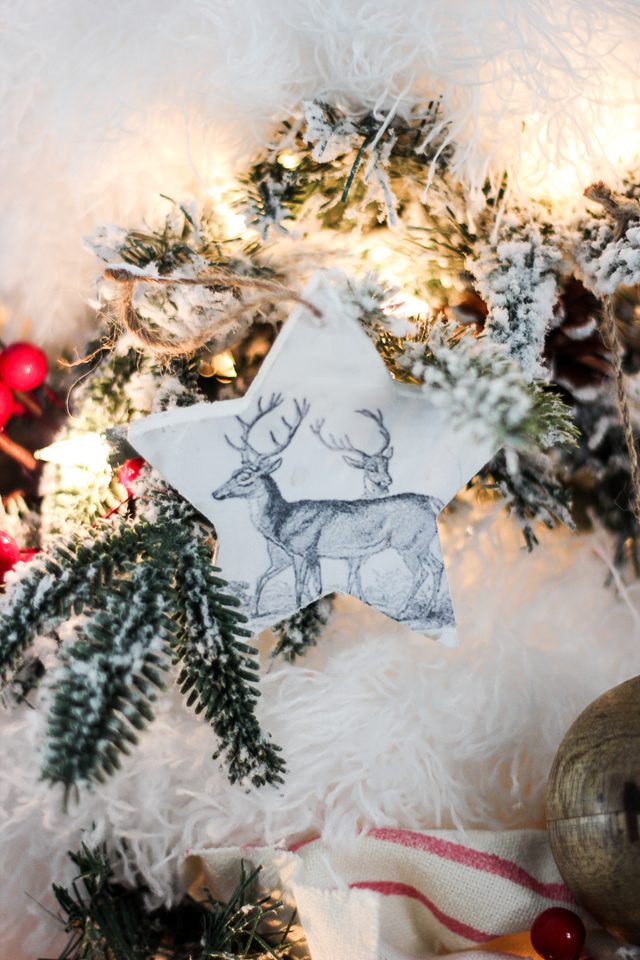
DIY Wood Transfer Christmas Ornaments
This fun picture exchange strategy is simple and to a great degree flexible. You can pick any picture you wish to exchange, in shading or high contrast. It enables you to make extensive pieces to show on your dividers, or littler pieces like these delightful reindeer adornments.
(Image: Lucy Akins)
(Image: Lucy Akins)
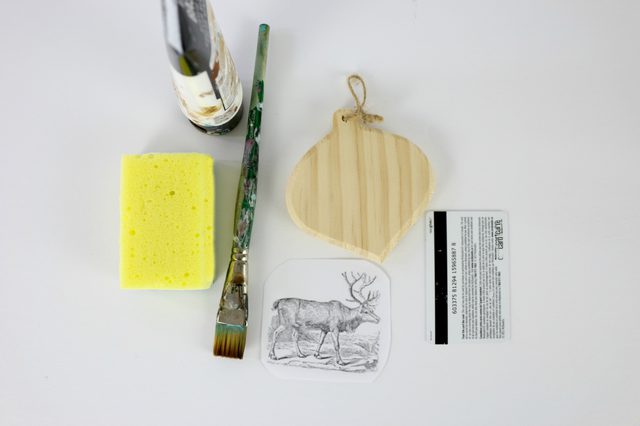
* Wood ornaments
* Craft paint
* Paintbrush
* White printer paper, preferably lightweight
* Printer
* Image to transfer
* Scissors
* Acrylic gel medium
* Credit card or popsicle stick
* Sponge
* Dish or tray
* Sealant or decoupage medium (optional)
(Image: Lucy Akins)
Tip
Laser printed pictures on lightweight printer paper work best for this exchange technique.
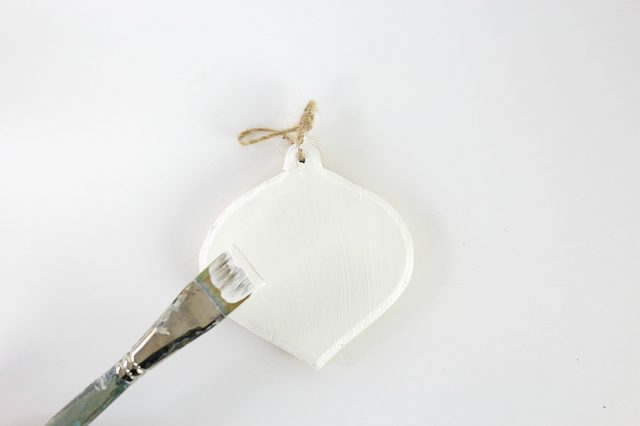
Step 1
Paint the wood trimming and let it dry overnight. Print out the picture you might want to apply to your trimming on customary or lightweight white paper. Slice and trim the picture to the extent of the adornment.

(Image: Lucy Akins)
Apply the acrylic gel medium with the paintbrush specifically to your wood decoration, guaranteeing you cover the whole surface territory equally.
(Image: Lucy Akins)
Apply gel medium equally; not too thick, but rather not very thin.
While the gel is as yet wet, put the picture (confronting down) onto the wooden surface. Daintily press the picture down with your fingers so the paper adheres to the surface.
With a Mastercard or popsicle stick, softly polish the surface with smooth, even weight. Put aside and permit to dry totally.

(Image: Lucy Akins)
Ensure you shine with consistent weight - not all that daintily that the gel doesn't hold fast to the paper, yet not all that hard that the gel is pushed out from underneath to the edges.
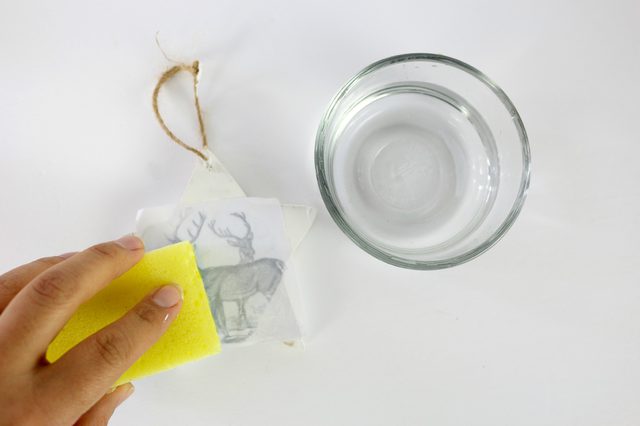
Step 3
At the point when the gel is totally dry, dunk a wipe in water and rub the wipe over the picture. This will uncover the picture and begin to expel the paper backing.
(Image: Lucy Akins)
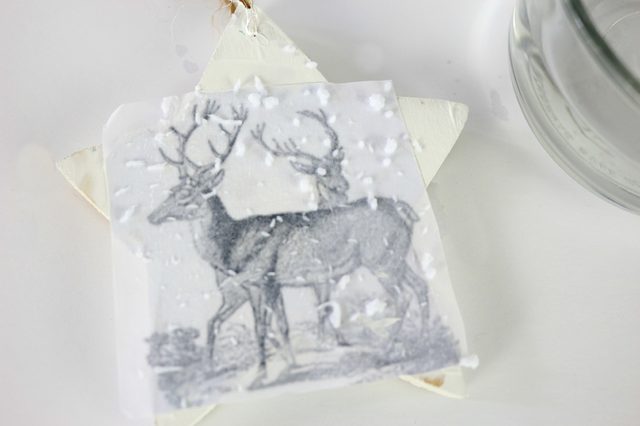
You will see the mash of the paper beginning to lift. Delicately proceed with this procedure until the point that the greater part of the paper has been evacuated.
(Image: Lucy Akins)
Utilize your fingertips to rub off any outstanding paper.

(Image: Lucy Akins)
Wipe off any extra paper deposit with a spotless paper towel.

(Image: Lucy Akins)
Apply a light layer of decoupage medium or sealant on top to ensure your exchanged picture. In spite of the fact that this progression is discretionary, it adds a pleasant touch to the completed pieces.

(Image: Lucy Akins)

(Image: Lucy Akins)
source:ehow.com by:Lucy Akins