NORMALLY DYED RING SLING BABY CARRIER DIY

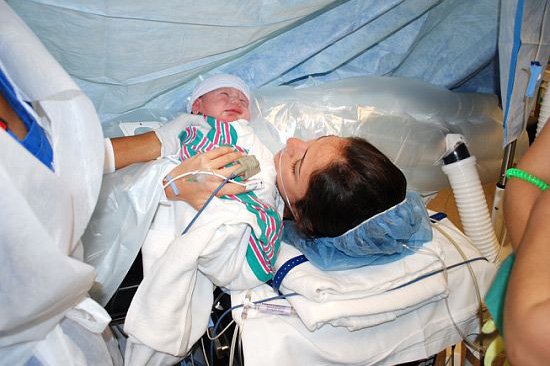
I don't know how I would've endured the child years with each of the three of my children without utilizing an infant bearer or some likeness thereof. I utilized the non-customizable, pocket sling with Sebastian, the cloth ring sling with Ruby, and both a pullover texture wrap bearer and knapsack style transporter with Smith. Each kind of sling had its advantages, yet my undisputed top choice was the ring sling since I sensed that it could compliment my closet while additionally being amazingly pragmatic. Besides, it was super simple to toss into the wash on a week after week premise!
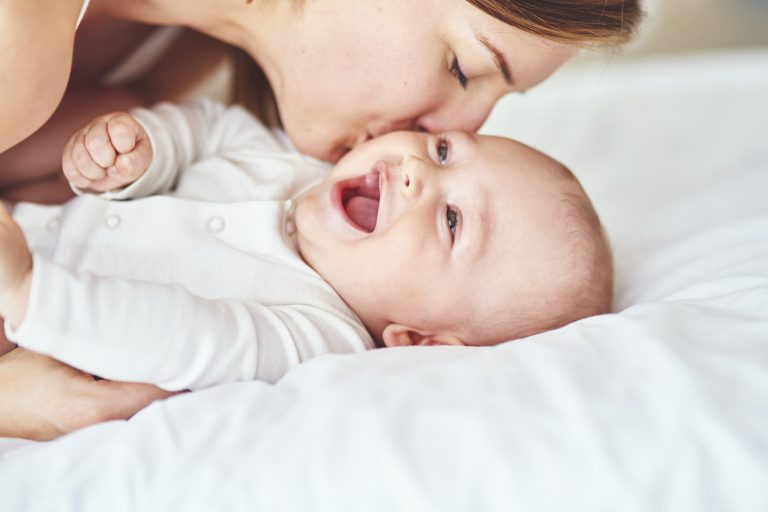
Since two of the ladies here at A Beautiful Mess will welcome sweet young ladies into their lives this year, it just felt fitting to share a ring sling DIY-finish with common coloring guidelines to accomplish that impeccable become flushed tone. Consider it an approach to be more creative concerning your guacamole propensity. There are more awful things to be dependent on, correct? The surface and wrap of the cloth combined with the wonderful redden tint you get from this color strategy make you have a feeling that you're wearing a beautiful scarf than a bit of infant rigging.

You can without much of a stretch make your own particular ring sling for a small amount of the cost of buying one online the length of you claim a sewing machine and know how to utilize it. In the event that you've never utilized a ring sling, make sure to peruse and take after directions on child wearing wellbeing before endeavoring to utilize your sling. This kind of sling can be utilized with infants through toddlerhood to help advance solid bonds and give solace to both mother and infant.


Ring Sling Supplies:
- 2 to 2.5 yards of 100% material in white. A size little would require 2 yards while a size substantial would require 2.5. I recommend including an additional 18" for each size up. You'll have somewhat overabundance, however as your child develops, you'll require it. A cloth/cotton mix won't color as uniformly as 100% material, so make certain you're getting 100%.
–one match of vast aluminum rings in your shade of decision. I shared the bronze in the supply photograph however utilized the gold in the completed cloth sling.
- sewing machine
–heavy obligation machine needle (these are the most grounded for standard machines in light of the fact that collapsed material is intense)
- shading organizing string
- iron and pressing board
- scissors
- folio clasps or straight sticks
Coloring Supplies:
- 8-10 avocado pits. Spare the avocado peels for coloring another variety of pink!
- 10 qt. stainless steel stock pot. Once you've utilized this to color, it is no longer sustenance safe. So keep it assigned as a color pot. I have discovered some incredible pots at second hand stores for a small amount of the cost of something new. Copper pots will influence the science of your color understanding, so stay with aluminum.
- tongs or a wooden dowel to mix your pot and modify your material in the pot
- cut for cutting avocados
–pH unbiased cleanser
Coloring YOUR LINEN
Many plants require a severe so the color will bond with the texture, however avocados are one of the plants that have a characteristic stringent so you can skirt that progression. You can discover more about mordants and how they influence hues in this post on normal coloring.
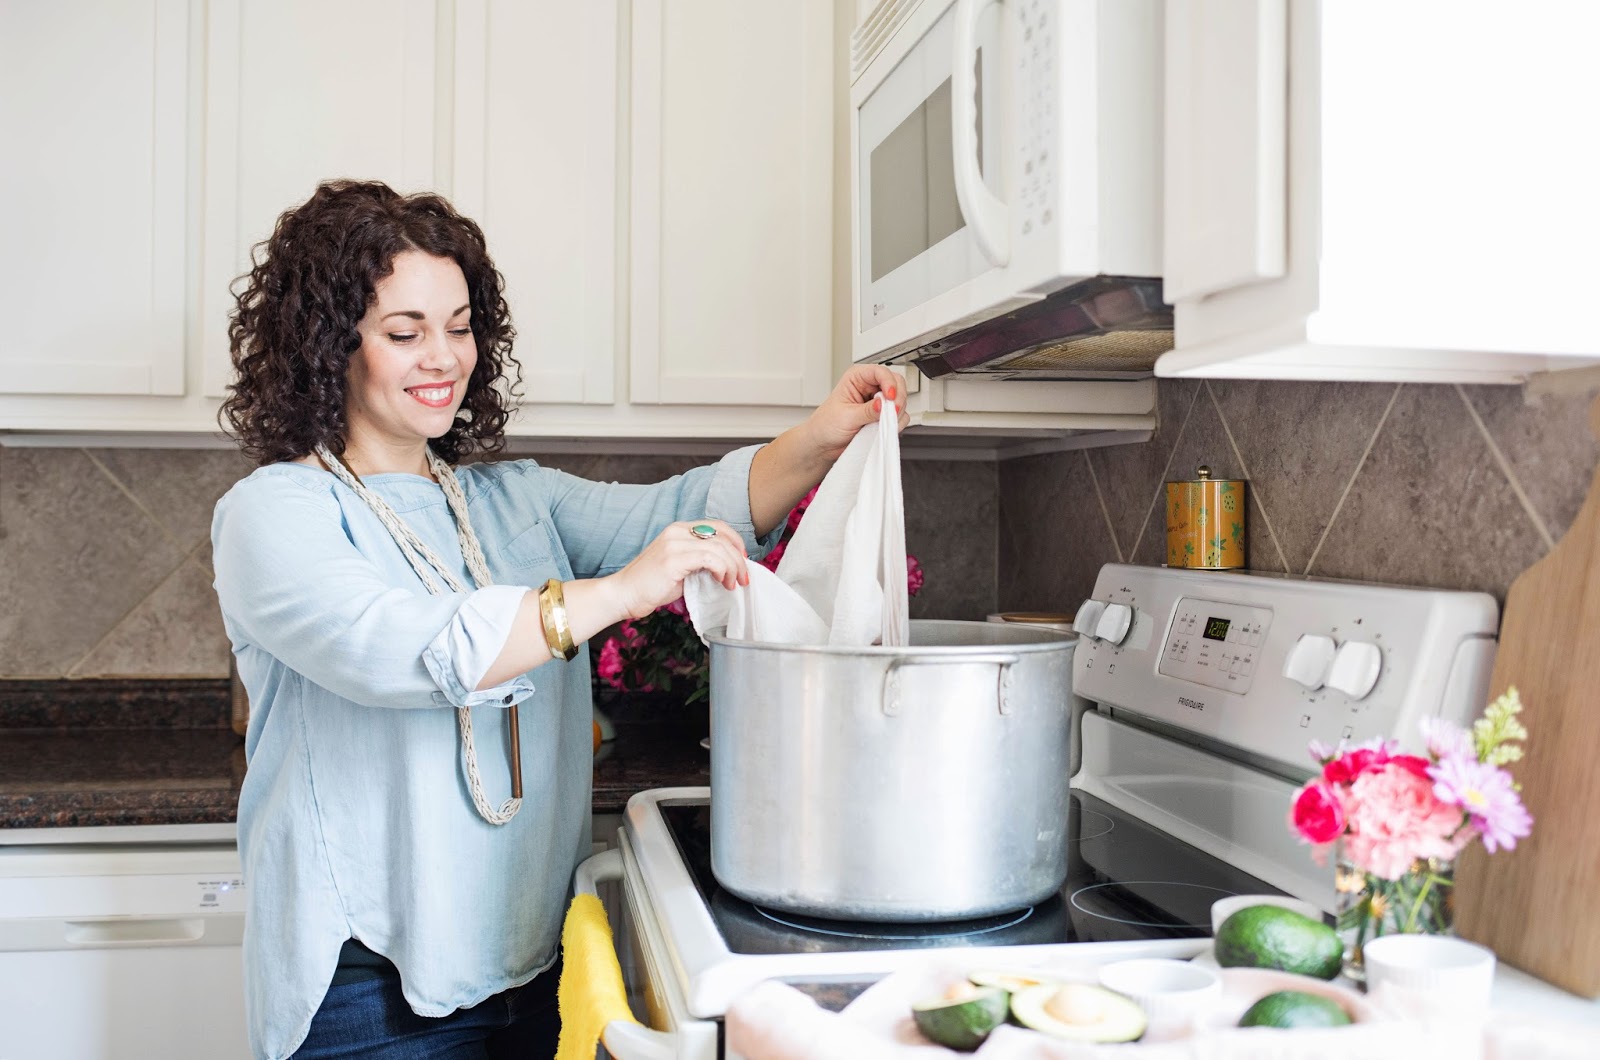
Set up your material texture by washing it in boiling hot water with a pH unbiased cleanser. This procedure, called scouring, will expel the vast majority of the chemicals or oils left on the cloth so it will have the capacity to ingest the color all the more promptly. The all the more frequently you wash your cloth, the gentler it will get, so I put mine through a full wash (high temp water) and dry cycle (on medium warmth to pre-recoil it) once, and afterward washed it in the washer again just before I was prepared to color. You can likewise pre-splash your washed cloth in a vast bowl or pot overnight before you are prepared to color. Ensuring your texture is altogether immersed implies the filaments will be prepared to assimilate the color uniformly.
Fill your pot the greater part path with sifted water (if conceivable) so that your cloth will have the capacity to move openly and set it to medium-high warmth on your stovetop. Include your entire, clean avocado pits. Put your skins aside to wash and stop in case you're keen on accomplishing another fun shade of warm pink. Give your color a chance to pot get to a stewing point, yet don't give it a chance to bubble or it'll dull the shading. The more you abandon it in the pot at a stewing point, the more profound the shading you'll accomplish.
Plunge a piece bit of material in the pot to get a thought of the shading. Once you're happy with your shade, include your pre-drenched and clammy texture to the color pot. On the off chance that you have to add more water to cover the top, you can, yet this may somewhat weaken the shading. Leave your texture in the color pot for at least 30 minutes, mixing at times to ensure it's equally shaded. On the off chance that you wish for a darker shading, abandon it in overnight or a couple days. It won't go all cranberry on you, however it will probably accomplish a darker shade than the one in our illustration.
Flush your cloth in warm water in a pH unbiased cleanser once more, run it through the dryer or line dry, and after that iron it to set it up for sewing.
SEWING YOUR SLING

Overlay one of the long sides of your cloth in 1/4" and iron level. I overlap mine over as I am pressing so I generally don't utilize straight sticks or restricting clasps, yet in the event that that feels more reasonable, you might need to attempt that. At that point crease that same edge over again around 1/2" and iron the whole length once more. You'll need to include folio clasps or straight sticks along the length of your twofold collapsed fix until you begin sewing to keep things set up. Rehash this same procedure on the inverse long edge.

Beginning toward one side of your twofold collapsed edge, back-fasten and after that join down the whole length within overlap as appeared. Evacuate your clasps as you go. Back-fasten again when you get to the next end. Rehash this procedure on the inverse edge.

Rehash this twofold overlap fix prepare on one of the short closures of your texture. Allow the other short end to sit unbothered until the following stride.

Overlay your cloth down the middle length-wise so that the two since a long time ago edged sews are resting by each other, not on top of each other. This will shield your thicknesses from getting so thick that your needle can't deal with things. In case you're correct given, your two sews ought to meet on the correct side. In case you're left-given, your two stitches ought to meet on the left side. Put a cover cut in the inside (mine is only somewhat topsy turvy. SO CONFUSING). At that point put another cover cut around 1" in from each side.

Envision things in thirds. Overlap your left side in with the goal that it covers the middle third and after that overlay it back midway. At that point crease your correct side in with the goal that it covers the middle third and afterward overlay it back midway.

This is the manner by which it will look when collapsed effectively. This guarantees a solid shoulder bolster without being lost in texture.

Evacuate your inside fastener clasp and iron your new overlays to make wrinkles.

Include two more cover clasps around 6" down from the top on both sides. This will help keep your folds set up and be a reference point later.

Join over the short edge of your folds around 1/8" from the edge. You'll need to begin and complete with a back-line. I additionally chosen to include a crisscross join between my line and the edge of the texture to shield my material from fraying (not appeared).

Include your two rings and overlap your texture down to where your fastener clasps were and re-cut things. Mine are quite recently visual placeholders here on the grounds that my genuine rings didn't come via the post office until the morning of our photograph shoot! I unstitched these and included the genuine ones in the nick of time.

Painstakingly fasten three lines of sewing close to the edge of your overlap to secure your rings. You have to back-line toward the begin and end of each line. This will guarantee your rings will remain set up and protect your infant.
Once you're done, trim your free strings and give it a shot! Simply put your sling over your prevailing shoulder so that it's exactly at the highest point of your trunk. At that point string your other wind up through both rings, isolate the rings, and string your closures back through the base ring. You can then take after headings here for securely wearing your infant. As usual, take incredible alert to ensure your infant is securely embedded into your sling as per wellbeing rules.


Ring slings are extraordinary for keeping a fastidious infant close while as yet having the capacity to complete beacon work or to free up room in your staple truck when you're out shopping. As a humble lady, I additionally frequently utilized mine to nurture in broad daylight since there was a lot of additional texture to help me feel great. It additionally made it significantly less demanding to get the entire family out of the house without pulling around a major stroller!
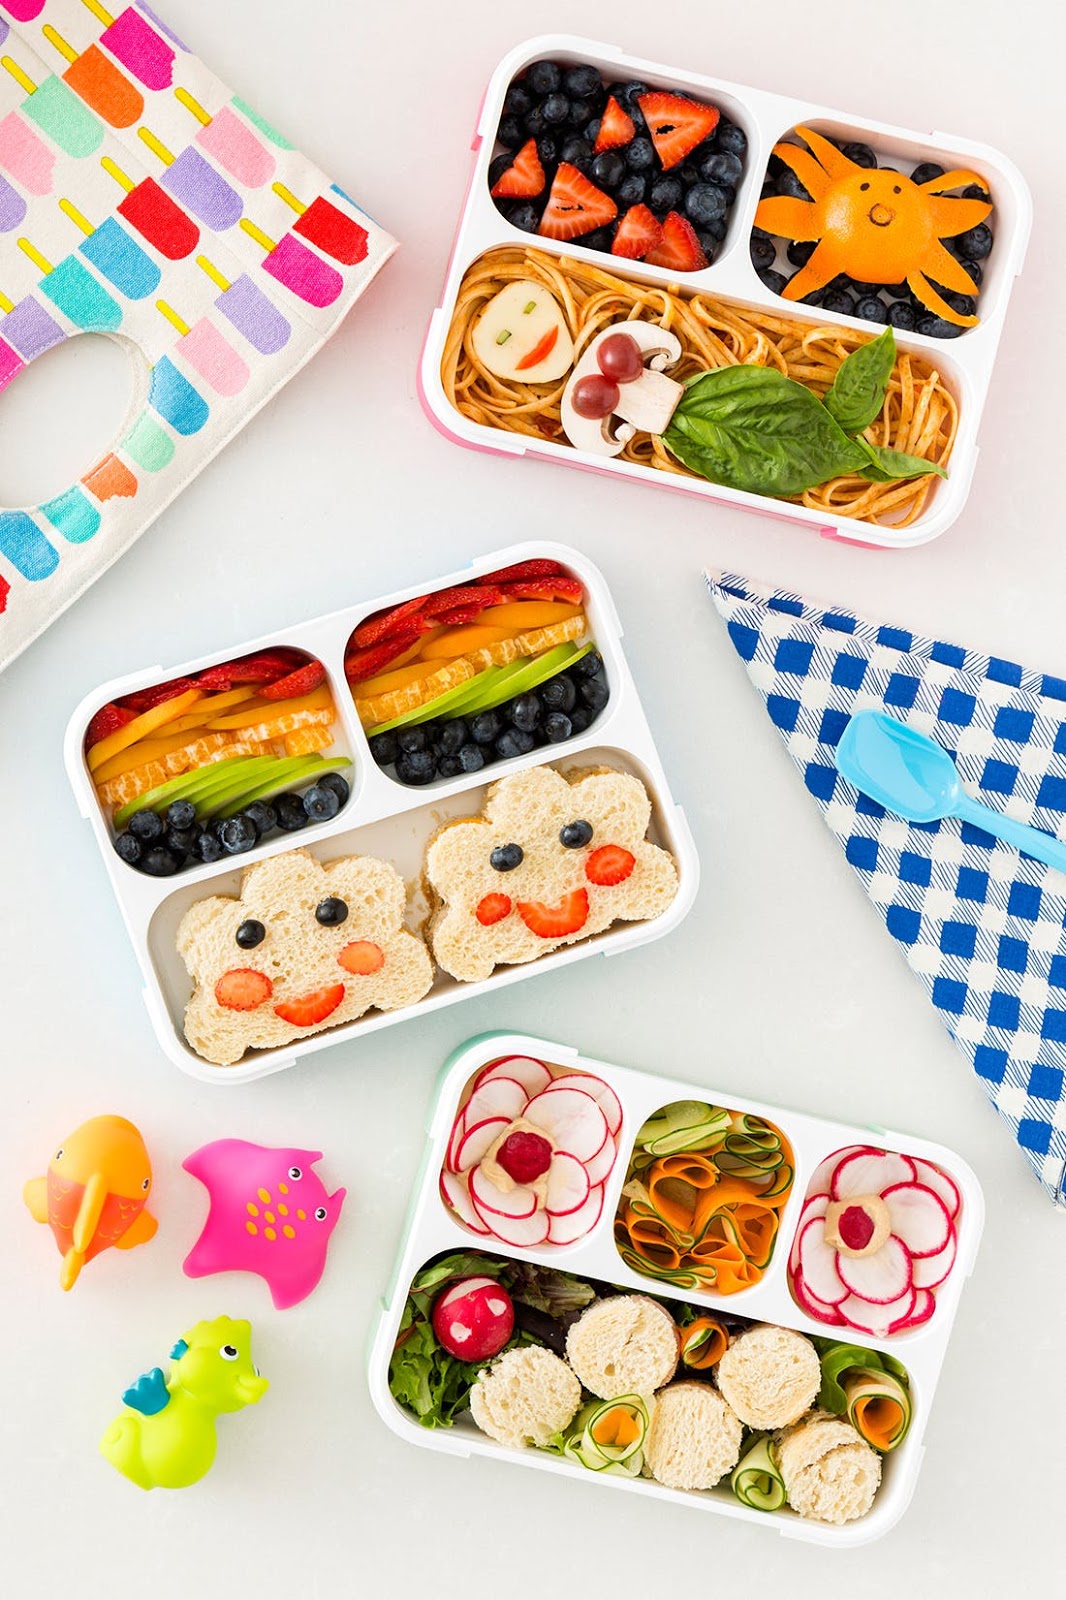
In case you're not needing a ring sling, you can without much of a stretch utilize this same instructional exercise to color material and sew an adorable top or make plunge colored fabric napkins to make mealtimes more fun. Keen on taking in the nuts and bolts of sewing so you can make more undertakings like this? Look at our self-guided e-Course, Sew With Us, and begin! –Rachel
Credits//Author: Rachel Denbow. Photography: Rachel and Janae Hardy. Models: Hannah, Jared, M and M. Photographs altered with A Beautiful Mess Actions.
source:abeautifulmess.com by:Rachel Denbow